New to Sly Flourish? Start Here or subscribe to the newsletter.
Running Descent into Avernus Chapter 4 and 5
by Mike on 1 February 2021
This article offers tips and tricks for running Chapters 4 and 5 of Descent into Avernus and includes my thoughts and recommendations for the adventure overall. Note that this article contains spoilers.
This article is one in a series of article covering Descent into Avernus including:
- Running Descent into Avernus: The Fall of Elturel
- Running Descent into Avernus Chapter 1
- Running Descent into Avernus Chapter 2
- Running Descent into Avernus Chapter 3
- Running Descent into Avernus Chapter 4 & 5
If you'd rather watch videos, you can watch my entire Descent into Avernus Youtube Playlist.
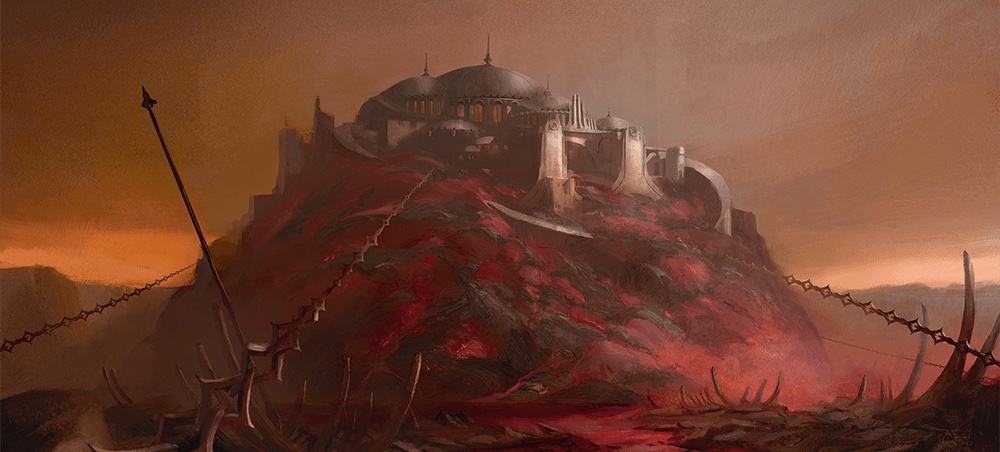
Chapter 4 of Descent into Avernus begins the conclusion of the adventure, drawing things in from the wide-open sandbox portion in chapter 3. Unlike Chapter 3, we don't have to do a lot of work to wrangle this chapter into something usable. It's a straight-forward story of the characters infiltrating the Bleeding Citadel, dropping into some dream sequences, and acquiring the Sword of Zariel.
We can, if we want, throw more gnolls around the outside of the Bleeding Citadel to turn it into more of a situation to navigate. An army of a few hundred gnolls, some Fangs of Yeenoghu, and maybe a couple of flind leaders can be fun. The characters have to figure out how to get into one of the rifts in the side of the giant hell-boil that surrounds the citadel.
Once they're inside, you can run Chapter 3 as a typical dungeon crawl. Drop in one or two gnolls the characters can interact with, squeezing them for information or trailing them to see what's going on in the cyst-tunnels.
When the characters make it inside the citadel, they're treated to a series of dream encounters that reveal the moment Zariel realized she'd have to ride into hell to stop the demonic hordes. This is the beginning of her eventual transformation to the arch devil of Avernus.
We can use these dreams to reveal the other Hellrider generals who rode beside her before they transformed into her twisted servants. These include Yael, Olanthius, Harumon, Jandar, and Gideon.
These dream sequences let us pour on the secrets and clues; revealing the full story of Zariel's fall from grace and the one thing that can bring her back — taking hold of the Sword of Zariel.
Advice from the Author
I had a chance to talk to one of the authors of Descent into Avernus, James Introcaso, who offered up his own advice for running this chapter. James's advice is included in the thoughts below.
Dial in the Gore
This chapter, with its huge hill-sized wound in the surface of hell, can be as gory as you want it to be. Know how much gore your players want and dial it in appropriately. You can simply describe it as caverns cut into the stone surface of Avernus or as a squirming organic material covered in slime and stuff if you and your players are into it. Know the level of comfort your players desire and have an X Card or other safety tool ready if it goes beyond someone's level of comfort.
Do More with the Crokek'toeck
James Introcaso wrote up a series of encounters for Descent into Avernus called Abyssal Incursions that includes a whole dungeon crawl through the insides of the enormous Crokek'toeck. You can use it as inspiration or take it as-is and drop it into the Crokek'toeck section of the Scab. Personally, I ran it as a Jonas and the Whale type situation with a gnoll who preferred not to be vomited up into war spending his days comfortably in the creature's gullet. Giving the Crokek'toeck a purple-worm-like swallow attack meant a swallowed character could meet this pacifist gnoll and learn more about what lay ahead.
Scale the Dreams
Not everyone digs dream sequences in D&D. They can feel like a waste of time since they rarely have an effect on the real world. There are seven events in the Idyllglen dream sequence and you don't need to run them all. A skirmish with a bunch of gnolls followed by a confrontation with Yeenoghu and Zariel's arrival can work just fine. Don't overdo it if it doesn't seem enjoyable.
Regarding Gargauth
Once the characters come back out of the dream, one of them can take hold of the Sword of Zariel. This may be Gargauth's chance for escape, either by manipulating the character holding the shield or simply asking them to shatter the shield with the sword. Doing so releases Gargauth, the arch-devil, who may offer to help dethrone Zariel for his own chance to take it. Gargauth may clear a path through any remaining gnolls so the characters can make their final ride back to Elturel where Zariel and her floating fortress reside before dragging Elturel through the River Styx and turning all of its remaining citizens into devils.
Chapter 5
Chapter 5 largely deals with the wide range of endings this adventure can have but gives little guidance on how to run them. Before you get to this point you'll want to decide how things play out. In my own game, I assumed Zariel flew her flying fortress to Elturel as the characters got the sword and the characters would confront her there; convincing her to grasp the blade and breaking her pact with Asmodeus.
Give Them What They Want
Since we're closing in on the end of the adventure, now is a good time to give the players what they want. We may have an idea for a strange twist at the end but since we're here and the campaign is about to close, it's a good time to let the story end in the way most satisfying for the players. Hold back your temptation for a big twist on the end and give them what they want.
The Final Ride
With the sword in hand, the characters can use their infernal war machine to roar across Avernus once again, arriving at Elturel in time to see it being slowly submerged into the river Styx. Along the way they may run into Mahadi's Wandering Emporium for a final rest or face Zariel's remaining generals if they haven't already in what may be the big final encounter before facing Zariel herself.
In my own game, the characters faced Olanthus, Harumon, and Gideon all riding in on nightmares. One of Harumon's hellfire lances destroyed the characters' war machine but, when the characters defeated the generals, they received three figurines of wondrous power able to summon nightmares. These nightmares let the characters fly to Zariel's fortress disguised as her returning generals.
Confrontation with Zariel
When the characters confront Zariel we have a chance to bring Thavius Kreeg back into the picture. This is an example of a great D&D tip I heard: whenever possible, reintroduce NPCs the characters already know. It's far more meaningful to run into a villain they've already seen than to introduce a new villain right at the end. Kreeg may send in the final wave of devils after the characters before they can parlay with Zariel herself and convince her to take the blade.
Our instinct is to ask the characters to make a persuasion check for such convincing but while that might steer the nature of the conversation, in the end, we want Zariel to take the sword as much as the players do. Poor rolls may result in a tense conversation but don't let the whole balance of the game hang on a single die roll.
Return to Faerun
Assuming Zariel takes the blade, she returns to her angelic self. Her remaining devils flee and her flying fortress collapses. She teleports the characters back to Elturel where they can meet Reya Mantlemourn, Uldar Ravengard, and Grace Lyn; the young girl they rescued in The Fall of Elturel. Since we're at the end of the adventure, now is a great time to reintroduce all the NPCs we can.
With the characters back in Elturel, Zariel severs the chains and sends the city back to Faerun. The city is saved.
This is a great chance to jump forward one year and ask each of the players where they find their characters. What did they do after Elturel returned to Faerun? Did they become members of a new uncorrupted Hellriders? Did they return to Avernus to become one of Mahadi's prized musicians? Did they return to Candlekeep to become a sage? Ask the players and find out! These final stories can often be the best and most memorable stories in the campaign.
Final Overall Thoughts on Descent into Avernus
Here are some of my thoughts on Baldur's Gate: Descent into Avernus overall.
Running Descent into Avernus took more work than I like from a published adventure. The artwork, design, and editing is wonderful and the general idea of the story is cool and unique. The story as written, though, is a mess. If you're running the adventure, hopefully these articles helped you wrangle it into an epic tale of high adventure in the depths of hell.
I will leave you with my seven big tips for running Descent into Avernus.
- Understand the theme you want for the campaign and steer your game towards that theme. Make sure your players are on board with that theme.
- In your session zero, tie the characters to the Hellriders, Reya Mantlemorn, and Elturel.
- Build your own path through chapter 3 by choosing the locations you want to run and tying them together with a network of quests that takes them from Elturel to the Bleeding Citadel.
- Let the characters fuel infernal war machines with demonic ichor instead of soul coins.
- Choose how gory you want the details of the adventure and make sure your players are comfortable with it.
- Choose which waves to run in the dream sequences in Idyllglen; you don't have to run them all.
- Give the players what they want in the end. Let them save Elturel and perhaps save Zariel if they played their cards right.
Hopefully these tips and guides have helped you run this adventure. When steered right, Descent into Avernus can be wrangled into a grand adventure of good and evil in the wastelands of hell.
Related Articles
- Running Descent into Avernus Chapter 3
- Running Descent into Avernus Chapter 2
- Running Descent into Avernus: The Fall of Elturel
Subscribe to the Newsletter
Subscribe to the weekly Sly Flourish newsletter and receive a free adventure generator PDF!