New to Sly Flourish? Start Here or subscribe to the newsletter.
Tying the Threads of Princes of the Apocalypse: Red Larch through Rivergard Keep
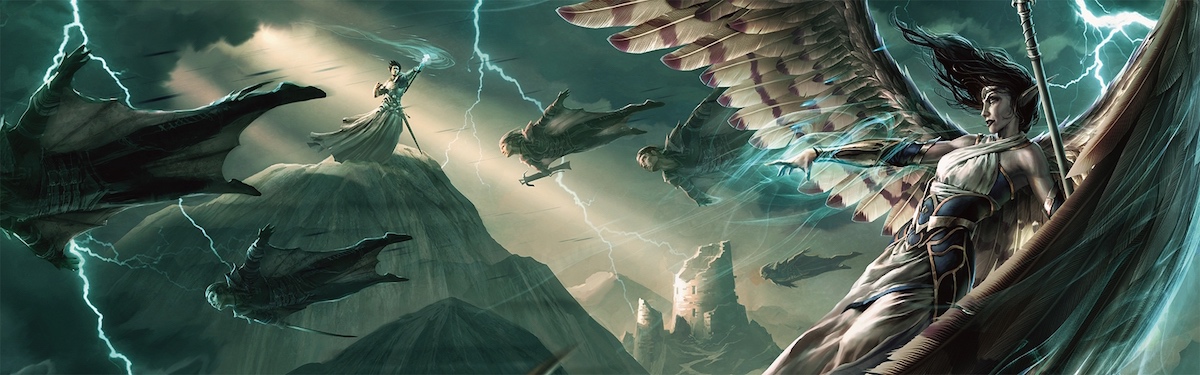
by Mike on 21 September 2015
The official D&D 5th Edition adventure Princes of the Apocalyse is built as a large sandbox adventure with a lot of freedom to let the PCs wander within and throughout the physical locations and the cults who inhabit them.
For some games, particularly organized play games, this might not be an ideal way to run the adventure. For a more streamlined adventure, it's better to have clear threads and seeds that help draw the PCs from one situation to another.
Before we begin to dig deep into this look at threading together the adventures in Princes of the Apocalypse, take a look at this excellent guide to Princes of the Apocalypse on the Power Score blog. This guide is packed with useful information for running Princes as either a sandbox or linear adventure and why you might choose one over the other. It also has a long list of useful Princes of the Apocalypse links. With that read, let's begin.
Why Run Princes Linearly?
One good reason to run Princes in a linear fashion is the level range of the various parts of the adventure. In the adventure book itself, it describes the appropriate level range for all of the smaller adventures in chapter 6 that take PCs from level 1 to 3, and then, in sequence, all of the Haunted Keeps that take PCs from level 3 to level 7. Feathergale is tuned for level 3. Rivergard is for level 4. The Sacred Stone Monastery is level 5, and Scarlet Moon Hall is designed for level 6 PCs. If run as a sandbox, the PCs might find themselves outmatched by their opponents but not so FAR outmatched that they know to run. This can end up leading to a poor game if not handled well.
There's another issue with the design of the module. If the PCs discover the entrances into the temple dungeons beneath the haunted keeps. These are MUCH higher level than the keeps (7,8,9, and 10). So there is the potential that a very low level PC will end up in a very high dungeon.
Again, the world shouldn't shift itself around to suit the level of the PCs, but players may get frustrated if they find themselves outmatched by what they find.
There are some subtle ways to deal with this problem. They could get a lot of passive insight checks to realize that the area they are in is beyond their power. Now, if they decide to go, they know what they're getting into.
Another problem, however, could occur if high level PCs have to return to a low level area and find it boring. It might be fun to dominate one group of bad guys in an encounter, but do that for a few sessions and players may get bored.
How to Run Princes Linearly
There are a couple of ways to help keep Princes on track and guide PCs to the right directions without making the whole game feel too much like a railroad. First of all, which clues are clearly overt and which are more subtle? The sight of giant vultures being ridden by knights might be far more interesting to explore than attempting to find an unknown monastery of some weird monks. Shining the right light on a clue can give players the clear message that one way is the right way to go.
You can also easily steer directions by withholding information. If the PCs never hear about Scarlet Moon Hall, they're certainly not going to end up at its front door.
To Key or Not To Key
There's a more direct way to prevent the PCs from accidentally entering the four elemental temples before it's time—lock the doors. Instead of leaving them wide open, each of the temples could be locked with a special iron door that can only be opened with a key of four parts. Each part of the key is held by one of the four leaders of the Haunted Keeps: Thurl Merosska, Gar Shatterkeel, Hellenrae, and Elizar. The weapons of the prophets (see page 5) act as keys for the four prophets themselves but they had a fifth key. Rather than trust it to any one lieutenant, they split it and gave one piece to each of the four. This can work as a reason for the four lieutenants to battle against one another in attempt to gain access to the temples themselves.
It also gives the PCs access to the temples once they have defeated all four lieutenants. If they don't actually acquire it from a lieutenant, that lieutenant might come after them directly, giving the PCs a chance to win the key segment in a big battle.
Thread to the Haunted Keep: Red Larch to Feathergale
Let's look at some specific examples you can use to tie together the threads in the early stages of the adventure.
If you begin the adventure with Chapter 6, taking PCs from level 1 to 3 and exposing the treachery of the Believers, you will want to figure out how to get the PCs from Red Larch to the Feathergale Spire. The easiest way to do this is focus their attention on the Shallow Graves scenario on page 43. This is a fun murder mystery that can reveal battle between the Black Earth cultists and the riders from Feathergale. If they don't get the hint, maybe they see a mounted flier flying over the mountains to the canyon containing the spire.
What you DON'T want to do is give them hints or clues that would lead them to find the monastery. Whatever clues they expose should all lead them to Feathergale.
Feathergale Spire to Rivergard Keep
Once the PCs have dealt with Feathergale, which has a lot of interesting options all on it's own, you'll want another thread to bring them to Rivergard Keep. The best way to do this is to downplay the friction between the air cult and the earth cult and focus on how the earth cult used the pirates at Rivergard Keep to transport kidnapped members of the Miribarian Delegation (a core story thread between all the keeps). As written, the head of Feathergale will give PCs the whereabouts of the Sacred Stone Monastery but it works out much better if he gives them the location of Rivergard instead.
It's possible the PCs will see the cavern leading into the Temple of Howling Hatred and the huge ancient door that now blocks it. This gives them the clue that they will need to acquire four parts of the key to get further below.
Rivergard Keep to Sacred Stone Monastery
As a secret monastery secluded deep in the Sumber Hills, it's easy to keep it hidden from the PCs until the time is right. The easiest way to connect the dots is to give Grimjaw a note or manifest of the slave labor sold between Rivergard Keep and the Monastery including directions or a map. Until then, the PCs might hear of mysterious monks in the hills wearing strange golden masks and rumors of a great dig going on beneath an old forgotten monastery.
The lich in Sacred Stone Monastery can be a particularly interesting NPC if you get past the whole "evil force well beyond the capabilities of the PCs" cliche. The lich could hold lots of information of the construction and use of the four haunted keeps and the rumors of what lay below.
The actions of the monks should reveal a great dig occurring beneath the monastery. What exactly are they digging for? Perhaps they seek relics of Tyar-Besil that help them unlock the nodes. Perhaps they seek components to build devastation orbs. You can add your own hook in here if the PCs happen to be seeking something else at this point in the adventure. If you want to add some interesting flavor to these relics, consider turning them into single-use magic items.
Again, the PCs can discover a second door leading to the temples below and know that the key piece they acquired is one of the four needed to open any of these lower gates.

Sacred Stone Monastery to Scarlet Moon Hall
For an easy transition between the Sacred Stone Monastery and Scarlet Moon Hall is to give the PCs no real clues about Scarlet Moon Hall until it's their next location. It's possible the PCs will return to Red Larch or you might skip ahead and begin with the PCs returning to town. All of the elemental craziness has made the villagers subtable to charismatic leaders and many of them have begun to follow this new profit, Elizar, who swears that a great cleansing at Scarlet Moon Hall will reset the balance of the elements.
For some fun background, consider watching the excellent horror movie the Wicker Man with Christopher Lee. It's likely the wicker giant in this part of the adventure was inspired by the 1973 movie. Christopher Lee's character is a perfect NPC archetype for Elizar.
As the villagers head to Scarlet Moon Hall, they can witness local folk conducting all sorts of crazy rituals. Here are 1d8 crazy-ass rituals the PCs might witness:
- Villagers climb a tree and leap into the air claiming that the air will carry them up. Instead they go crashing down.
- Villagers lay prone surrounding a goat happily munching grass. The goat has the elemental symbol of fire painted on it and two sticks of incense trailing smoke attached to its horns.
- A villager has a live fish wiggling half-way out of his mouth. If the PCs ask him about it, he pops it out and says "sore throat" before putting it back in again.
- Villager walk completely naked and covered head to foot in mud and clay.
- A villager runs up to one of the PCs, spits a great spray of salt water into their face, and says "we have been reborn!" before happily running off.
- Three villagers sit in a triangle, hands held together, while a small flame dances between them.
- A number of villagers dig into soft mud with their hands sometimes crying out "we are coming, my lord!"
- A number of villagers hold a long rope attached to a huge kite flying overhead. Another villager is tied to the kite and happily shouts about his ascendance.
Much of the rest of the Scarlet Moon Hall adventure can take place as is.
Bonus Tip: Run Scarlet Moon Hall as a One-Shot Adventure
If you're looking for a fun one-shot adventure, consider running the whole Scarlet Moon Hall chapter as its own stand-alone adventure. It's self-contained and offers lots of opportunity for exploration, interaction, and combat. It is suitable for PCs of level 5.
In fact, almost all of Princes of the Apocalypse can be broken down into individual adventures or the components of adventures you can use in your own world. While there is a large overarching story, the locations and characters throughout the adventure would all make for interesting shorter stories.
The Key Is Formed
With all four of the haunted keeps cleared out, all four lieutenants defeated, and with all four key parts in their possession, the PCs are free to explore the depths of Tyar-Besil in any order they wish. Since PCs are likely to be level 7 by the time they begin this part of the adventure, they should be more free to explore the ruins below the Sumber Hills in any order they seek. Sometimes it will be a little harder, sometimes a little easier, but they can surely handle what they face and it's easy to tune it if it's too hard or too easy.
Ending The Adventure Early
You may have a desire to close up Princes of the Apocalypse without going through the entire second half of the adventure. Here are some thoughts about how you can still build a clear conclusion to the adventure without needing to kill all four prophets or exploring each of the nodes.
In this abbreviated version, once they have the keys to the four elemental temples, the PCs can choose one of those temples. While they do, all four prophets are attempting to create Devastation Orbs but are unable to do so as the lines of tension between each of them stresses the lines of power. Only when one of the prophets falls will another succeed.
Whichever of the four elemental temples they explore, the PCs make their way down into the elemental node where they face their first prophet. On defeating the first prophet, one of the PCs receives a premonition of the opposite prophet completing their orb and releasing it on the town of Red Larch. They must rush back to the town of Red Larch to stop the second prophet from destroying the town.
When they arrive, the second prophet unleashes the power of their devastation orb and their aligned elemental prince is pulled in. This elemental prince begins to destroy the town. The PCs must face the prophet and stop the elemental prince by destroying the elemental orb. Any successful DC 17 arcana or athletics check against the orb inflicts damage to the elemental prince equal to one third to of its hit points. Only one check against the orb can be taken in a round. With the prophet and the elemental prince destroyed, the PCs have saved the town of Red Larch.
As for the two remaining princes, their story remains a mystery.
Related Articles
- Prince of the Apocalypse: Running Chapter 6
- Empowerment
- Hoard of the Dragon Queen Episode 8: Skyreach
Share this article using this link: https://slyflourish.com/tying_the_threads_of_princes.html
Subscribe to Sly Flourish
Subscribe to the weekly Sly Flourish newsletter and receive a free adventure generator PDF!
More from Sly Flourish
Sly Flourish's Books
- City of Arches
- Return of the Lazy Dungeon Master
- Lazy DM's Companion
- Lazy DM's Workbook
- Forge of Foes
- Fantastic Lairs
- Ruins of the Grendleroot
- Fantastic Adventures
- Fantastic Locations
Have a question or want to contact me? Check out Sly Flourish's Frequently Asked Questions.
This work is released under a Creative Commons Attribution-NonCommercial 4.0 International license. It allows reusers to distribute, remix, adapt, and build upon the material in any medium or format, for noncommercial purposes only by including the following statement in the new work:
This work includes material taken from SlyFlourish.com by Michael E. Shea available under a Creative Commons Attribution-NonCommercial 4.0 International license.
This site may use affiliate links to Amazon and DriveThruRPG. Thanks for your support!