New to Sly Flourish? Start Here or subscribe to the newsletter.
Hoard of the Dragon Queen Episode 8: Skyreach
by Mike on 30 March 2015
It's been a long journey from Greenest to Skyreach but we're closing in on the end of the first published Dungeons and Dragons 5th Edition adventure, Hoard of the Dragon Queen. This article focuses on the final episode of the adventure, episode 8: Skyreach Castle.
You can read all of our Hoard of the Dragon Queen articles here:
- Episode 1: Greenest in Flames
- Episode 2: The Raider's Camp
- Episode 3: The Dragon Hatchery
- Episode 4: On the Road Part 1
- Episode 4: On the Road Part 2
- Episode 5: The Carnath Roadhouse
- Episode 6: Castle Naerytar
- Episode 7: The Hunting Lodge
- Episode 8: Skyreach Castle
As before, this article breathes a terrifying blast of icy cold spoilers freezing any fun you might have if you haven't already played through the adventure so put on your ring of fire resistance and tread carefully.
What Is Up With This Encounter Balance?
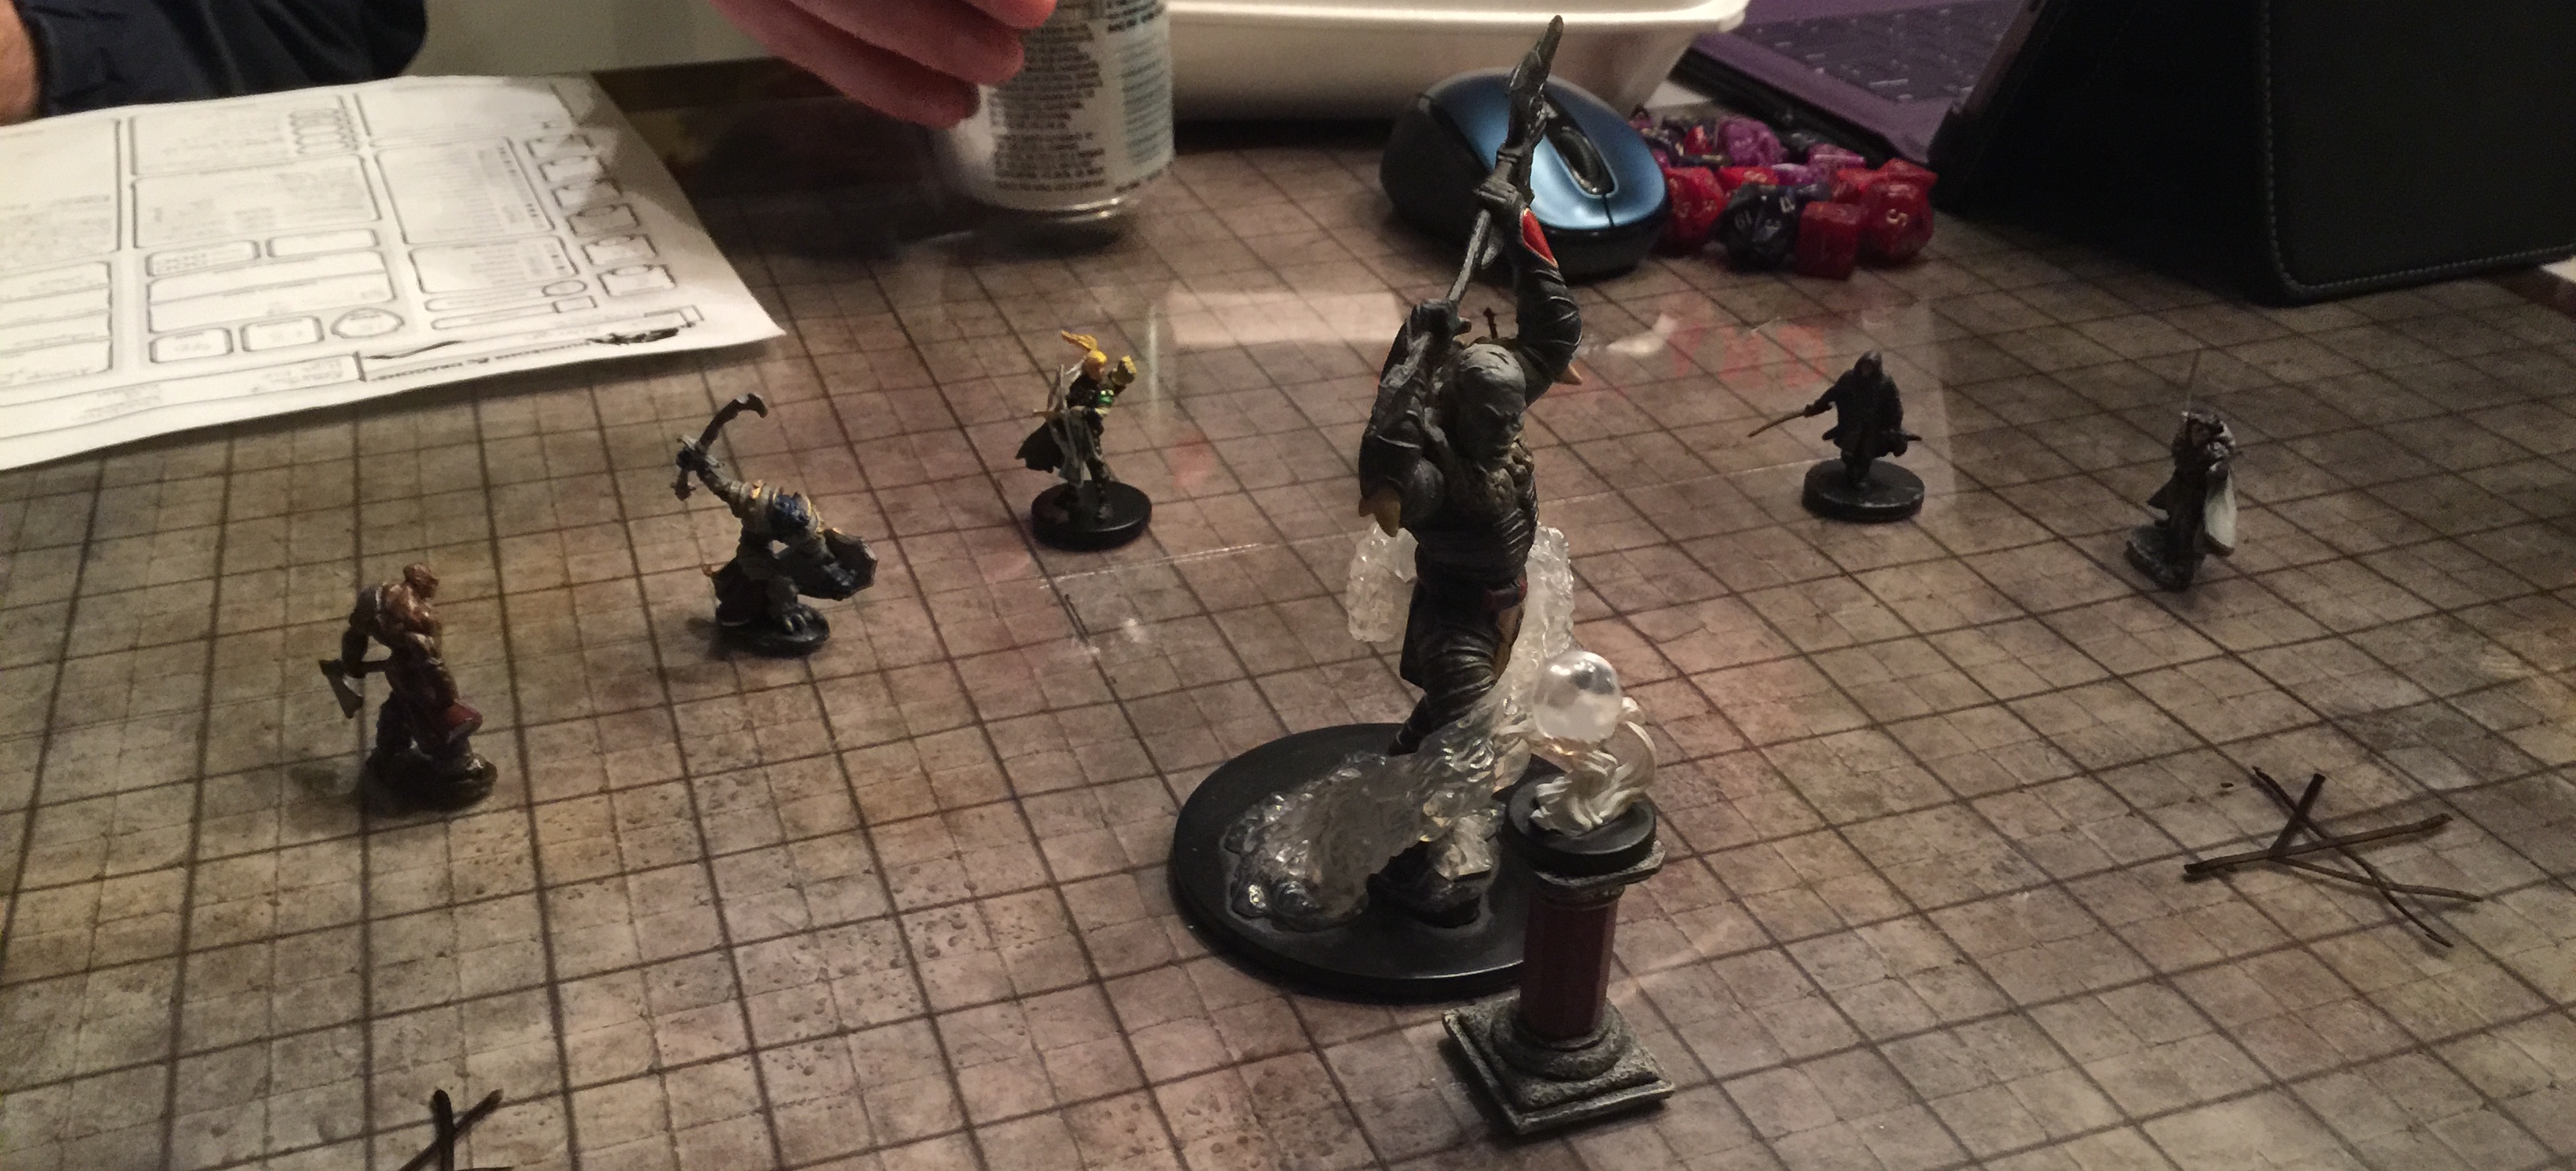
Let's start with the biggest potential problem with this episode. This episode's encounter balance is totally screwed up. As written, your level 7 group will face off against a pair of CR 10 stone golems in one scene, a CR 13 vampire in another, multiple CR7 stone giants, and a CR 13 white adult dragon in the final battle. Because of the flat math, some groups might actually manage to get passed these encounters but it's safe to say that there was never any real intent to make these fights as challenging as they are.
These errors are likely due to the publication of the adventure occurring after the publication of the Monster Manual, when monsters gained much sharper teeth than previous playtests. While the rest of the adventure is mostly balanced (excepting the inn full of assassins in chapter 4, of course), this chapter will require a fair bit of work to rebalance the encounters.
In short, you're going to want to replace all of the encounters in this chapter with your own. That may sound like a pain in the ass but never fear, for we're here to offer some help.
Replacement Encounters for Skyreach Castle
Below are some suggested encounters to replace those in Chapter 8. These encounters assume the PCs are level 7 and are tuned as "hard" encounters. Remove or replace monsters with lower challenge ones to make things a bit easier. Feel free to use these if they fit your story or build your own encounters using the simplified encounter building article.
Captain Othalstan (Gladiator)
2x Cult Fanatics
2x Scouts (add 2 for each PC above 4)
Rath Modar (Mage)
Flesh Golem
Add one knight for each PC above 5. The knights are Rath's personal guards from Thay.
Young White Dragon
Add one Earth Elemental (reskinned into ice elementals) per PC above 5.
Apprentice Red Wizard (Reskinned Priest, swap spells for wizard spells)
Barbed Devil (+1 for six PCs)
Thugs (+2 for five PCs)
Gladiator (reskinned into a Cult Dragonclaw)
Cult Fanatic
Scouts (+2 per PC above 4)
4x Ogres (+1 per PC above 4)
2x Cult Fanatics
2x Cult Fanatics
5 Kobolds per PC
Blagothkus (Cloud Giant)
+1 Air Elemental for each PC above 4. The elementals are destroyed when Blagothkus drops.
2x Cult Fanatics (+1 for 6 PCs)
2x Hell Hounds (+1 for 5 PCs)
If you're looking for a harder Rezmir fight or a fight for six PCs, consider the following.
Rezmir
Cult Fanatic (+1 per PC above 5)
2x Knights (Dragonwings)
2x Scouts (Dragonclaws)
If you want to build your own encounters, use the following templates:
Two Challenge 1 monsters per PC
One Challenge 3 monster per PC
One challenge 5 monster per two PCs
These are the equivalant of a "hard" encounter for level 7 PCs so remove monsters or lower challenges to make some battles easier.
Adventures in Parnast
A small piece of episode 8 takes place in the village of Parnast. The village has been taken over by the Cult of the Dragon and has been the last stop for the hoard before it was loaded aboard Skyreach.
Parnast is a good opportunity for the PCs to run into old acquaintances or learn more clues about what is going on in the castle. Use it as a way to tie the story back into the backgrounds of the PCs.
In the adventure, there is a chance the PCs could miss getting onto Skyreach. Ignore that unless your PCs willfully avoid getting on board before it leaves. The PCs can get aboard either by flying wyverns (awesome!) or by sneaking past the guards or smuggling their way in with some freight.
The important thing is that they get onto Skyreach for the rest of the adventure. Don't let the adventure fall flat because the timing wasn't right for the PCs to get on board.
The Cloud Giants' Motivations
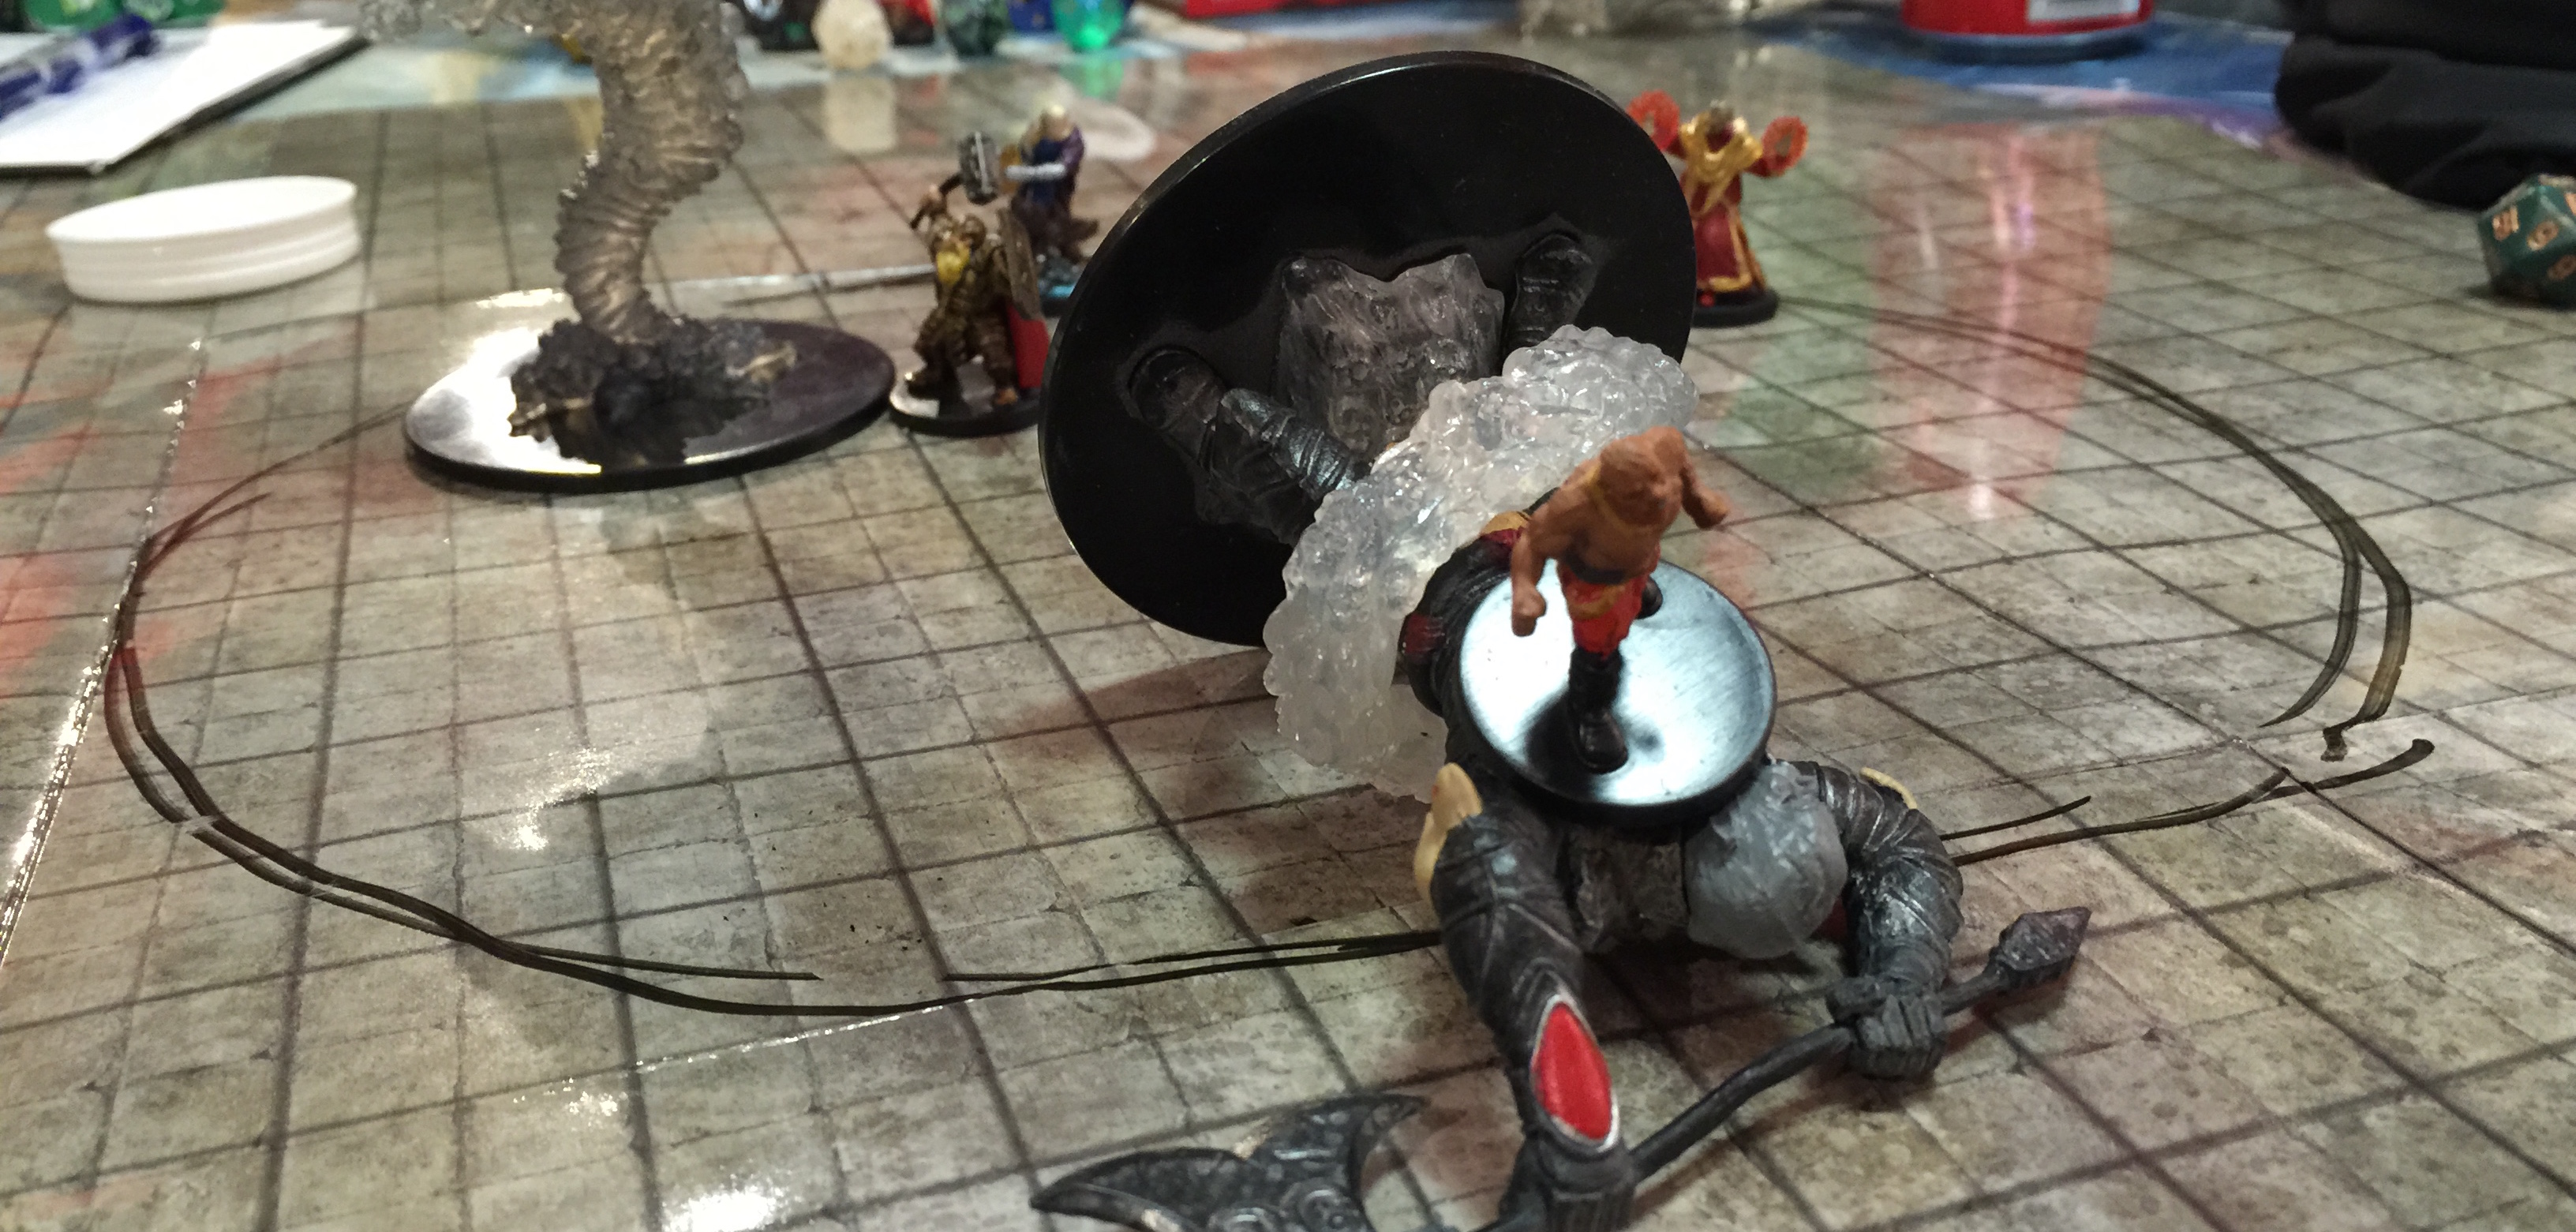
Skyreach Castle is controlled by a cloud giant named Blagothkus and the spirit of his dead wife named Esclarotta. The book hand-waves their motivations, saying something about thinking that aiding the Cult of the Dragon will somehow help him fight dragons.
Instead, let's change his motivations. What if the Cult of the Dragon aided a group of hill giants who attacked the cloud giants, killed Esclarotta, and kidnapped their two children who are now being held at a hill giant steading. Charmed by Rath Modar and driven insane with rage Blagothkus is still likely to combat the PCs. Once defeated, Blagothkus will agree to turn over the castle to the PCs if they promise to rescue his two children. This can open up a fun side adventure when we get to the Rise of Tiamat.
The PCs might even convince Blagothkus to shake the castle up and dump much of the remaining cultists on board.
While not in control of the castle itself, Esclarotta can give the PCs information on the inhabitants of the castle.
Skip the Vampire
The text of the episode mentions a vampire named Sandesyl and her lair. Like other encounters, this challenge level is well outside of a balanced encounter for level 7 PCs. It also doesn't make much sense and a true vampire should have a bit more foreshadowing than be placed as a simple guard who watches the upper balcony in the night.
The easiest thing to do is simply remove her. A vampire would be a great addition to the villains in Rise of Tiamat, perhaps as the vampiric leader of the Night Masks, the assassin's guild in league with the Cult of the Dragon.
The crypt itself might be an interesting way to talk to Esclarotta's spirit.
Streamline the Rest
There are a lot of rooms in the castle. Feel free to reskin these rooms into summoning chambers, scrying chambers, and supply chambers rather than rooms filled with monsters. Keep in mind that the PCs may end up owning the castle so you can change the rooms into rooms useful to them once it is under their control.
Rath Modar's Simulacrum
The Red Wizard Rath Modar plays a pivotal role in the Tyranny of Dragons. Rather than have him make a daring escape, which often tends to make players feel cheated, consider making the Rath Modar of Skyreach a simulacrum created by the REAL Rath Modar who the PCs will meet later in Rise of Tiamat. If Azbara Jos is still alive in your campaign, you might replace Rath Modar with Azbara Jos and leave a note from Rath Modar in Azbara's possession.
The Black Dragon Mask
As written, it is nearly impossible for the PCs to capture Rezmir's black dragon mask. Dangling the mask in front of the players and then having it automatically teleport to Severin is a terrible bait and switch. Instead, follow the advice of James Introcaso and just let them have it.
As we've seen, the all-or-nothing collection quest sucks. Taking possession of a single mask shouldn't totally screw Severin's plans to summon Tiamat. Likewise, losing the hoard of the castle shouldn't screw him either. Instead, the PCs acquiring these possessions should set Severin back but not totally end the adventure.
The mask, however, is an extremely powerful artifact and a dangerous one. Whoever deals with the mask might see images of the four other wyrmspeakers. They might get a vision of the yet-risen Temple of Tiamat in the Well of Dragons. They start to see the bigger picture. It also gives the other wyrmspeakers an idea about the PCs.
Now the PCs have a choice.
If they hang on to the mask, the other four wyrmspeakers will know much of their travels and their plans since the masks are connected.
Or they can destroy it. Doing so sets back Severin's plans and keeps their moves and motivations secret from the cult.
Which will your PCs choose?
Give Them The Castle
Sure, you could make it hard for the PCs to acquire Skyreach Castle but how much more fantastic and heroic is it if the PCs get their own shiny flying castle?
There are lots of ways their procurement of the castle might come under threat, but there are an equal number of ways you can make sure it steers in the favor of the PCs.
Of course, there is likely a cost for such a powerful castle. It requires maintenance and upkeep. It needs magical energy to fuel itself. Here are the potential costs of maintaining such a wonderful castle:
- Unskilled labor (25): 25 GP per day
- Skilled artisans and laborers: 75 GP a day
- Three wizards who channel magical energy, use cones of cold to keep the ice from melting, and perform other wizardly odd-jobs: 150 GP per day.
- Magical energy required to move the castle: 10 GP worth of magical items per mile of travel.
This might make the castle very expensive but as the PCs grow in power, acquire more magical items, and start getting a lot more money, these costs won't be too horrible.
Feeding the dragon mask to the castle gives them 5,000 miles of travel alone.
Reskin Hazirawn
Rezmir's sword, Hazirawn, is another piece of the adventure likely designed before the rules were solidified. As written it is far too powerful an item to put in the PCs hands (especially in organized play). Instead, reskin the sword into a sword of wounding or a viscous greatsword. You can still make it intelligent but keep the baseline statistics more in line with something a level 7 PC would have.
The End of the Campaign?
You might be finishing up Hoard of the Dragon Queen with no intention of beginning Rise of Tiamat. If this is so, you'll want to make sure you come up with a solid conclusion for the adventure that gives the hint of the bigger fight but still makes the players feel like they've hit a clear end point. You can do this by reinforcing the following points:
- Capturing the Hoard of the Dragon Queen set back Severin's plans to release Tiamat considerably.
- The PCs have acquired a fantastic weapon against the Cult, Skyreach Castle itself!
- While the players don't play it out, they can see clearly that their characters are headed out to do battle with the remaining four wyrmspeakers and to tear apart the plot to raise Tiamat.
- Take a moment to tie in PC backgrounds so they remember where they came from and how it brought them here.
- Remind them of their previous achievements. Saving Greenest, infiltrating the bandit camp, traveling on the long road, fighting though the Mere of Dead Men, and infiltrating Castle Naerytar.
- Give them the view of the vast treasure they have acquired and remind them that they might do what they can to return it to the towns of the Sword Coast (or not!).
The key to concluding the adventure is to show them the vast accomplishment they have made and yet hint at the bigger adventure ahead without making the players feel like they're missing out.
Or Just the End of Part 1?
If you plan to continue on to Rise of Tiamat, now is a great time to tie up some loose threads and show them the scope of what they have to accomplish. They might see a final vision of the remaining four Wyrmspeakers and of the threat Tiamat still poses to the Sword Coast. Though they will have many outstanding quests to follow, their road is clear.
Recovering the Hoard
Whatever your plans after this adventure, the PCs have accomplished a mighty goal. They have inflicted a severe wound in Severin's plans and have restored the wealth of the Sword Coast. This is a proud moment for the PCs, the players, and yourself. Enjoy it. Thus ends our adventures hunting down the Hoard of the Dragon Queen.
Related Articles
- Hoard of the Dragon Queen Chapter 6: Castle Naerytar
- Running Rise of Tiamat
- The Danger of All-Or-Nothing Collection Quests
Share this article using this link: https://slyflourish.com/hodq_chapter_8.html
Subscribe to Sly Flourish
Subscribe to the weekly Sly Flourish newsletter and receive a free adventure generator PDF!
More from Sly Flourish
Sly Flourish's Books
- City of Arches
- Return of the Lazy Dungeon Master
- Lazy DM's Companion
- Lazy DM's Workbook
- Forge of Foes
- Fantastic Lairs
- Ruins of the Grendleroot
- Fantastic Adventures
- Fantastic Locations
Have a question or want to contact me? Check out Sly Flourish's Frequently Asked Questions.
This work is released under a Creative Commons Attribution-NonCommercial 4.0 International license. It allows reusers to distribute, remix, adapt, and build upon the material in any medium or format, for noncommercial purposes only by including the following statement in the new work:
This work includes material taken from SlyFlourish.com by Michael E. Shea available under a Creative Commons Attribution-NonCommercial 4.0 International license.
This site may use affiliate links to Amazon and DriveThruRPG. Thanks for your support!
