New to Sly Flourish? Start Here or subscribe to the newsletter.
Running Ghosts of Saltmarsh Chapter 3, Danger at Dunwater
by Mike on 14 October 2019
This article is one of a series of articles covering the hardback D&D adventure book, Ghosts of Saltmarsh. You can read all of these articles here:
- Ghosts of Saltmarsh Session Zero
- Running Ghosts of Saltmarsh Chapter 2: The Sinister Secret of Saltmarsh
- Running Ghosts of Saltmarsh Chapter 3, Danger at Dunwater
- Running Ghosts of Saltmarsh Chapter 4: Salvage Operation
- Running Ghosts of Saltmarsh Chapter 5: Isle of the Abbey
- Running Ghosts of Saltmarsh Chapter 6: The Final Enemy
- Running Ghosts of Saltmarsh Chapter 8: The Styes
- Running Ghosts of Saltmarsh Chapter 7: Tammeraut's Fate
Like those articles, this article contains spoilers for Ghosts of Saltmarsh.
Danger at Dunwater, an adventure originally written in 1982 and the second adventure in Ghosts of Saltmarsh, is an interesting case study in adventure design. The adventure hangs on a particular approach in order to work well. In this approach, the characters should go in unsure of the threat the Dunwater lizardfolk pose to the town of Saltmarsh and, throughout the adventure, they should learn that the lizardfolk not only don't pose a threat to Saltmarsh but are mobilizing against an enemy that does threaten the fisher village: the sahuagin. The characters should be on their guard as this adventure begins, but not go in swords drawn and murder a bunch of innocent lizardfolk. That's a thin line.
Steering Towards Non-Violence
There's an interesting range of attitudes the characters might hold as they approach this adventure:
- They could assume the lizardfolk are peaceful.
- They can be unsure of the lizardfolk.
- They can assume the lizardfolk are hostile.
If they are in the third category, this adventure might end up going poorly quickly. If they go in hot, they stand the chance of getting invested in combat. If they've cut down one lizardfolk or five or ten, they're likely to continue even if they start to get evidence that things might not be as they seem. It can be a bummer for the players if they realize they've killed a bunch of creatures that could have been allies.
It's ideal if the characters go into the situation unsure of the lizardfolks' intent and with a desire to learn more about this intent before they're willing to draw blades and throw spells. This keeps the tension high and still allows for the big reveal; that the lizardfolk are actually arming against the sahuagin, not Saltmarsh.
If keeping that tension becomes too difficult, it's better to steer the characters towards the assumption that the lizard folk are not hostile. This removes the tension from the adventure but it's better than the characters murdering half of the lizardfolk only to realize they have it all wrong when they're standing on a stack of bodies.
We can control this approach by determining what clues we drop in front of the characters ahead of time. Here are a few secrets and clues the characters can discover that helps steer them the right way:
- The lizardfolk are arming themselves using stolen weapons from the kingdom of Keoland.
- Lizardfolk are not typically raiders or invaders. They stay in their own territory and are largely isolationist.
- It is not unheard of for lizardfolk to trade with other humanoid races.
- Saltmarsh has seen no lizardfolk scouts scouting out the town.
- The lizardfolk of Dunwater haven't always been there. They arrived there as refugees from somewhere else.
- Ships from the west report of being attacked by "sea devils" who are likely not lizardfolk.
Some of these secrets might feel heavy-handed and go against the goal of running this adventure with a clear tension. As we listen to the conversations of the players, though, we can gauge whether they think of the lizardfolk as a hostile force to attack on sight or something worth investigating deeper. If they're leaning towards hostility, we might drop in one or more of these clues to help steer them the other way.
Ignoring Fifty Two Rooms
Depending on how this adventure goes, we may end up ignoring the 52 room descriptions in this adventure. Similar to Village of Hommlet, we have a lot of descriptions of places that really only reward murder hobos. Any group that tries to negotiate with the lizardfolk aren't likely to go room by room looking under mattresses for jeweled conch shells. It's possible we'll need those room descriptions if one or two characters go sneaking around. They're also handy given that the characters can approach the promontory from three different entrances. The rooms, map, and description are written like a dungeon crawl, however, but if it ends up running like one, something has likely gone wrong.
The Situation at the Promontory
Like we did with much of Sinister Secret of Saltmarsh we'll run the promontory as one big situation. We have a lot of lizardfolk (I didn't count but it feels like fifty) conducting their daily activities. The queen is meeting with ambassadors from other aquatic races so at any given time she may be in her throne room receiving the koalinth or locathah. Depending on what the characters do, the lizardfolk could show up in force or they could be quite confused and run about the lair trying to figure out what is going on. Again, if things go poorly and it turns into a bloodbath, this adventure has gone the wrong way. This is something to watch out for early.
Handling Murder-Hobos
This adventure won't go well if your players are "stab first, ask questions later" sorts of folks. This adventure is designed so the characters will discover that the threat they assumed they had, the lizardfolk, are actually not the threat at all.
It is possible this whole adventure goes down this road and maybe that's ok. It will likely dawn on the players that they maybe shouldn't have killed all of those lizardfolk in the first place. That doesn't sound like a very fun run of this adventure to me but maybe it works out.
The adventure includes some mechanics for determining how the lizardfolk queen deals with the characters should murder occur. I'm not a fan of these mechanics and think it's easier if we DMs wing it based on how the situation looks to us and how we think the lizardfolk might react. If some lizardfolk died fighting the characters before negotiations have started, you may decide how that gets sorted out. Perhaps, as Merric Blackman offers, the lizardfolk demand monetary restitution to the clan for each lizardfolk lost in battle.
If your group are a bunch of murder hobos, maybe one of the councilmembers approaches the characters before they leave and tells them that its more important that they find out what is going on before they jump right into hostility. It's a bit heavy handed but sometimes we need to be heavy handed to help steer an adventure towards the most fun.
Players are Unlikely to Surrender
It's important to note that players very rarely surrender in D&D. It's one thing to see a big monster that you know is beyond you and slowly step away. It's something else to be surrounded by an overwhelming force and drop your weapons. Player characters don't drop their weapons. They have little guarantee that they'll get them back and players hate losing their stuff. There's also no guarantee that they'll be left alive or have to suffer through some pain-in-the-ass escape scenario.
Thus, whatever you expect your players to do in this adventure, don't expect them to surrender to the lizardfolk. That's one of the very unlikely results. It's far more likely they'll either have a stressful negotiation or it will turn into a bloodbath. We want to aim for the former. This should be first and foremost on our minds when we run this adventure.
Queen Othokent's Quests
This wouldn't be much of an adventure if the characters simply figured out that the lizardfolk aren't hostile and helped form an alliance between the lizardfolk and Saltmarsh against the sahuagain—the real threat.
Instead, to prove themselves to the lizardfolk, Queen Othokent offers the characters two quests they can complete for her to show their loyalty:
- Kill Thousand-Teeth the crocodile.
- Retrieve the queen's helm from the bullywugs.
This gives our characters a pair of more traditional adventure hooks to make up for not cleaning out the lizardfolk lair room by room.
The Thousand-Teeth adventure can run much as it does in the book. See "Epilogue: Croc Hunt" for the details.
For the bullywug encounter, we can go beyond what's in the adventure.
Expanding the Bullywug Encounter
The beginning of Danger at Dunwater includes a potential encounter with a bullywug king and some of his followers. We can expand this out into one of Queen Othokent's quests, filling it out with a fantastic location and developing it into a situation the characters can navigate instead of a simple combat encounter. In my own running of this game, I chose an old Suloise ruin with a huge statue of a Suloise hero before both the Suloise and Baklunish nearly killed each other off roughly a thousand years ago.
In this expanded encounter, King Gulpa'Gor, his pet giant toad Bipsy, and about a dozen bullywugs are watching two bullywugs duel one another. The duel consists of great displays of insult and boasting with nary a blow passing between them beyond, perhaps, a great fart. This is a good opportunity to read up on bullywugs in the Monster Manual and note they are all about projecting an image of superiority without actually wanting to get involved in a fight. Good fun for potential roleplaying in this encounter.
King Gulpa'Gor has carefully stashed the helm of underwater action in the belly of Bipsy who can regurgitate it on command.
How the characters choose to deal with this situation is up to them. They can sneak in, perform some sort of ruse, or go in swords drawn. Such a situation has lots of opportunity for exploration, roleplaying, and combat.
Queen Othokent has requested that the characters recover the helm, an artifact of the lizardfolk stolen from them by the bullywugs. On their success, she gifts the helm to them as a sign of their commitment to the alliance between the Dunwater lizardfolk and Saltmarsh.
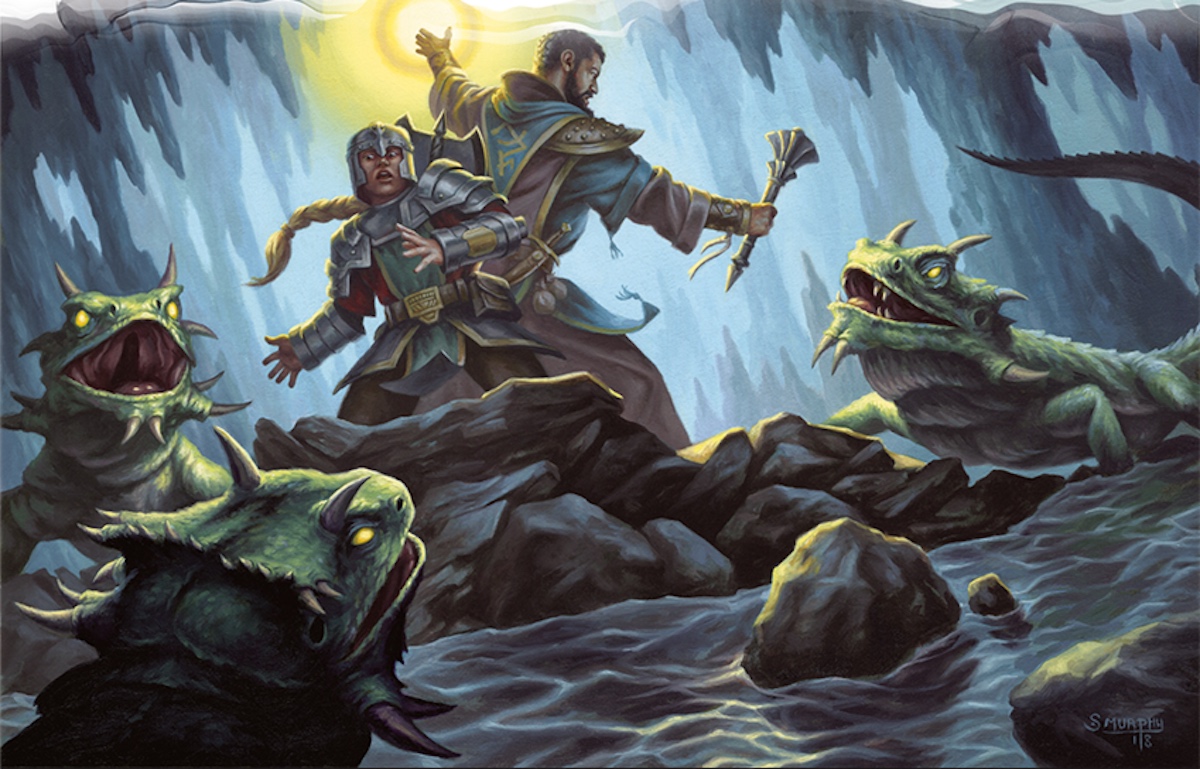
The Malenti Assassin
There's a wonderful bit of lore hiding in the description of sahuagins in the Monster Manual. Some rare sahuagins appear indistinguishable from sea elves. These alienated sahuagin, known as malenti, make the perfect spies and assassins. In Danger at Dunwater one of these malenti might have infiltrated the lizardfolk lair appearing as an ambassador of the sea elves. While the lizardfolk have not allied with the sea elves, it is possible they would harbor a sea elf ambassador regardless. This sea elf, however, is actually looking for the opportune moment to strike; first by releasing any captured sahuagin and then by attempting to murder Queen Othokent.
When the characters return from their croc hunt and bullywug heist, they might return to the queen for a celebration and an evening of rest. That evening, however, the malenti releases a number of sahuagin imprisoned by the lizardfolk and then makes for the queen's bedroom. The characters are awakened by the sound of combat and follow a trail of dead lizardfolk to the queen's lair where they see the malenti, a spy, crouched over the dying body of the queen. The characters must defeat the malenti and sahuagin and save the queen.
This is a fun little encounter that shows the sahuagin as more than an abstract threat and gives an opportunity for a tighter bond between the queen and the characters. The queen, after being saved, rewards the characters with the very helm they acquired for her from the bullywugs.
A Return to Saltmarsh
With the queen now open to an alliance, the characters can return to Saltmarsh and inform the council of the sahuagin threat. Perhaps it's another good opportunity for a downtime session in which the characters seek out their own quests and goals before being recruited for the next adventure in the book, Salvage Operation.
Related Articles
- Running Ghosts of Saltmarsh Chapter 2: The Sinister Secret of Saltmarsh
- Running Ghosts of Saltmarsh Chapter 6: The Final Enemy
- Ghosts of Saltmarsh Session Zero
Share this article using this link: https://slyflourish.com/running_danger_at_dunwater.html
Subscribe to Sly Flourish
Subscribe to the weekly Sly Flourish newsletter and receive a free adventure generator PDF!
More from Sly Flourish
Sly Flourish's Books
- City of Arches
- Return of the Lazy Dungeon Master
- Lazy DM's Companion
- Lazy DM's Workbook
- Forge of Foes
- Fantastic Lairs
- Ruins of the Grendleroot
- Fantastic Adventures
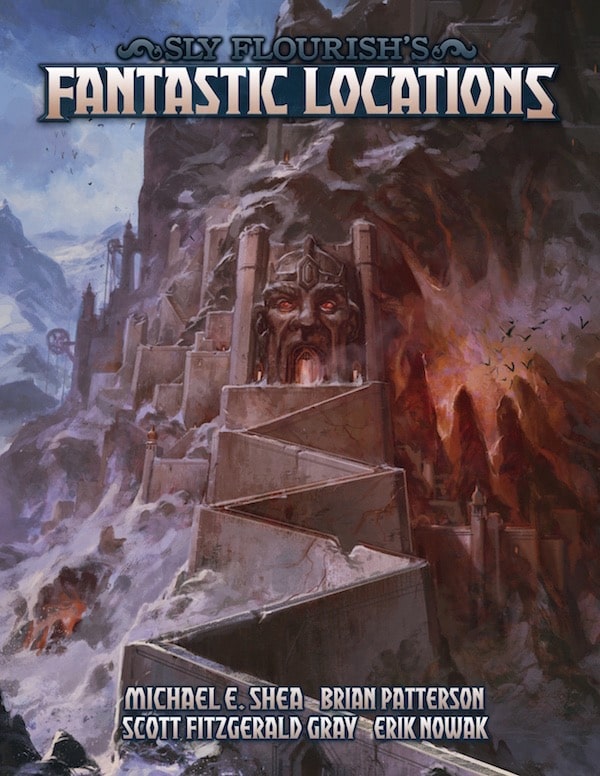
- Fantastic Locations
Have a question or want to contact me? Check out Sly Flourish's Frequently Asked Questions.
This work is released under a Creative Commons Attribution-NonCommercial 4.0 International license. It allows reusers to distribute, remix, adapt, and build upon the material in any medium or format, for noncommercial purposes only by including the following statement in the new work:
This work includes material taken from SlyFlourish.com by Michael E. Shea available under a Creative Commons Attribution-NonCommercial 4.0 International license.
This site may use affiliate links to Amazon and DriveThruRPG. Thanks for your support!