New to Sly Flourish? Start Here or subscribe to the newsletter.
Running Ghosts of Saltmarsh Chapter 2: The Sinister Secret of Saltmarsh
by Mike on 9 September 2019
This article is one of a series of articles covering the hardback D&D adventure book, Ghosts of Saltmarsh. You can read all of these articles here:
- Ghosts of Saltmarsh Session Zero
- Running Ghosts of Saltmarsh Chapter 2: The Sinister Secret of Saltmarsh
- Running Ghosts of Saltmarsh Chapter 3, Danger at Dunwater
- Running Ghosts of Saltmarsh Chapter 4: Salvage Operation
- Running Ghosts of Saltmarsh Chapter 5: Isle of the Abbey
- Running Ghosts of Saltmarsh Chapter 6: The Final Enemy
- Running Ghosts of Saltmarsh Chapter 8: The Styes
- Running Ghosts of Saltmarsh Chapter 7: Tammeraut's Fate
Like those articles, this article contains spoilers for Ghosts of Saltmarsh.
A New Hook
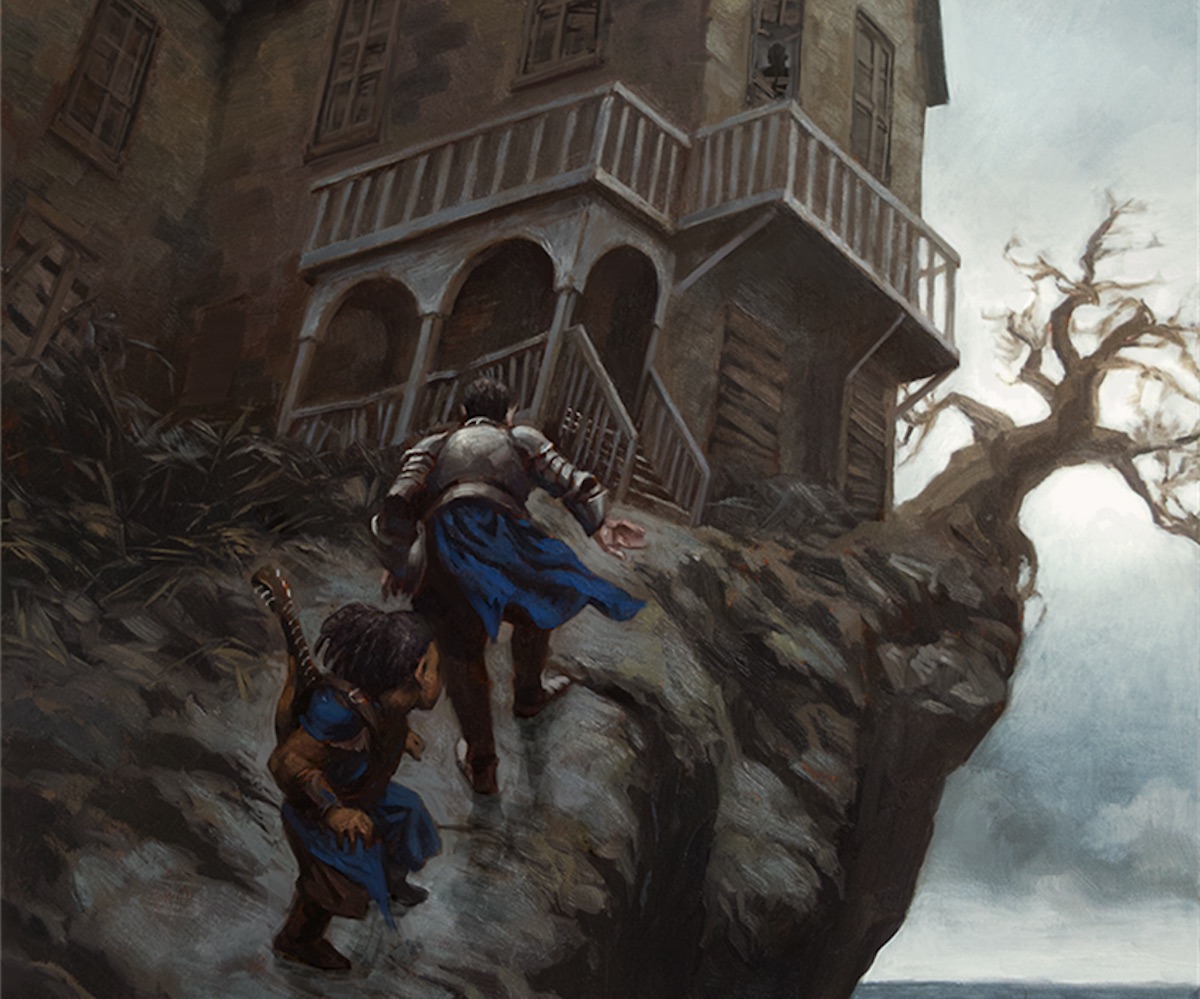
Our adventure begins with the characters traveling to a supposedly haunted mansion. The adventure itself, however, doesn't offer very strong hooks to get there. In fact, more than one NPC has a goal to ensure the characters don't to go the mansion.
Thus, we can help this adventure out by offering a stronger hook. For example, the body of a woman can wash up on shore. This woman was last seen with her brother, both of whom were adventurers that planned to go to the haunted mansion and recover the alchemist's gold. Instead, he never returned and she washes up on shore drowned and wearing prisoner's garb with binding markings on her wrists and ankles.
The body causes great concern among the council members. The traditionalists believe it has something to do with the recent rise of the king's forces in the area while the loyalists believe it is a clear sign of the return of the Sea Princes. Only Anders Solmor acts as the balance between the two, bringing together the characters to investigate the situation as outside advisors to the council.
This creates a stronger hook than those proposed in the adventure itself. Your own hooks may work better than any others, of course.
The Sinister Secret in Saltmarsh
There is a sinister secret in Saltmarsh that we can begin to put into play with this hook. You see, Anders Solmor isn't acting on his own in this. He is being fed information and advice from his family's longtime advisor, Skerrin Wavechaser, a secret agent of the Scarlet Brotherhood. We need not introduce Skerrin to the characters (players have a nose for secret villains like a bloodhound) but he is working in the background none the less. His goal is to destabilize the council of Saltmarsh and take it over with members he can control, just as he controls Anders.
Skerrin has sent another agent to the haunted mansion, Ned Shakeshaft. Skerrin sent Ned to find out what the smugglers are doing there so Skerrin can figure out how to use it to the advantage of the Brotherhood.
Ned, however, doesn't know who Skerrin is. Ned was sent from a nearby city and met his contact in Saltmarsh who appeared cloaked and masked. The masked man had a strange affectation, however. He often told jokes and, after doing so, would clear his throat as though punctuating the joke.
This is a ruse, however. The loyalist council member and smuggler Gellan Primewater himself has such an affectation and Skerrin knows it so he uses it to steer attention away from him and towards the corrupt council member who he plans to either turn to the Brotherhood or remove from the council.
This is our sinister scarlet secret in Saltmarsh and we can play it out between all of the adventures we run in this book.
When to Level Characters
Looking back at the actual Sinister Secret of Saltmarsh adventure itself, we need to pay special attention to the characters' first level.
This tends to come up as advice in every article I write for 1st level adventures and it's still just as important when running Sinister Secret of Saltmarsh.
1st level characters are really squishy. No other level in D&D is nearly as dangerous as 1st. Four 16th level characters facing an ancient blue dragon archmage and her simulacrum isn't nearly as deadly as four 1st level characters facing four giant centipedes.
1st level D&D adventures are their own special game and these games should be treated differently than every other D&D game we run.
The low hit points of 1st level characters is the main reason things are so hard. Characters can drop very easily, especially when they're hit by creatures like giant poisonous snakes (16 damage on a hit and failed save) and giant centipedes (14 damage on a hit and with a failed save).
Chapter 2 of Ghosts of Saltmarsh doesn't describe when to level characters. I recommend leveling characters to 2nd level when they have cleared the first and second floors of the mansion and 3rd level by the time they have cleared out the smugglers in the caves below the mansion. Level the characters to 4th level once they have dealt with the Sea Ghost and reported to the council of Saltmarsh that the smuggled weapons are going to the lizardfolk at Dunwater river.
Running the Cellar
Most of the upper two floors of the mansion in chapter 2 of Ghosts of Saltmarsh runs smoothly and requires little modification from the book. The cellars, however, are a great example of how we build situations and let the players navigate that situation. The smugglers in the basement don't break down into perfectly balanced little combat encounter groups. They're a dynamic bunch. Among them are three scouts, five bandits, two hobgoblins, and Sanbalet the wizard. How they split up, group up, and face the characters will depend on how the characters act. If the characters triggered the screaming magic mouths, the smugglers know they're coming. That doesn't mean they'll act perfectly, however. These are simple bandits. They're not very bright, not that easy to control, and prone to either acting stupidly or running away.
Thus, when the characters come down the stairs in area 20, the smugglers are likely to hear them. The smugglers enjoying dinner in area 21 are likely to grab Sanbalet in area 22 and they all go back down into the tunnels in areas 25 through 29. When the characters are done dealing with the skeletons and the alchemist (a really fun encounter so hopefully the characters don't skip it), they will face split groups of scouts and bandits throughout the caves.
This can be a really hard fight at 2nd level so be nice to the characters. Bandits may flee if they take a hit. They may provoke opportunity attacks. They may have less than average hit points. If the characters are having some bad luck you can tweak things on the other side so the bandits luck isn't so great either.
Hopefully it's a fun epic battle in which the characters struggle but prevail.
Failing Forward
What if they lose? This is a good chance to fail forward. Sanbalet can capture the characters and stick them in area 27 under guard. The characters might escape or might be transported to the Sea Ghost when it comes back in. From there you'll have to decide how things might turn out given how the characters react to the situation. Luckily, as hard as the situations can be in the caves and on the Sea Ghost, capture is a realistic option and escape is a fun approach to get out of it.
The Weapons of King Skotti
For a fun twist, we can add a secret and clue to our game that the smuggled weapons found by the characters are actual weapons of King Skotti's armies. This adds a potential conspiracy theory that somehow the King's forces are behind the arming of the lizardfolk against Saltmarsh. This works right into the hands of the Scarlet Brotherhood and adds pressure in the opposite direction from the rumor that the dead woman shows that the Sea Princes are returning. Who actually is selling the king's weapons to the smugglers? An agent of the Scarlet Brotherhood of course! This particular agent, however, will end up dead if the council (and thus Skerrin) finds out that the characters know who it is.
Running a Downtime Session
Between clearing out the haunted mansion and taking on the Sea Ghost, we might have a downtime scene or session. In this session the characters can spend a few days reconnecting with Saltmarsh, tying back in with their backgrounds, investigating leads they might have come across, or anything else they might want to do. Running downtime sessions, which we'll talk about in detail in another article, are a different type of D&D scene. In particular, when running downtime sessions you'll want to do the following:
- Let your players know there will be a downtime scene or session ahead of the game so they can think about what their characters might do.
- Ask your players to review the downtime activities in chapter 2 of the Player's Handbook.
- Review the downtime activities in the Player's Handbook, the Dungeon Master's Guide, Xanathar's Guide to Everything, and the downtime activities listed in the Ghosts of Saltmarsh adventure book.
- Write down a handful of possible downtime activities given their location, the current point in the story, and the backgrounds of the characters.
- During the session ask the players to describe what they want to do within the week-long period while the council figures out what they want to do about the smuggling ship.
- Pay special attention to the time and make sure every player gets a chance to talk about what they want to do.
Once their downtime activities have concluded, it's time to jump to the next part of this adventure.
Running the Sea Ghost
Just like the cellar encounter, the Sea Ghost is another big and dynamic situation. To make things a little easier on the characters, consider leveling them to 3rd once they have cleared out the smugglers under the house so they have more resources to take on the crew of the Sea Ghost. As written, it's a tough situation.
When the characters return to Saltmarsh, the council asks them to go back out to the mansion and infiltrate the Sea Ghost to learn where the pirates on the Sea Ghost are bringing those weapons. If the characters already learned that the weapons are going to the lizardfolk, the council wants them to learn where exactly these lizardfolk are.
Open Situations, Focused Quests
When we're setting up a big scene like the infiltration of the Sea Ghost, we want to keep potential approaches open but also focus the required quests so the players know what they're supposed to do and can choose how they want to do it. When it comes to the infiltration of the Sea Ghost, the council of Saltmarsh gives the characters the following quests:
- Learn where the smugglers are bringing the weapons.
- Neutralize the crew of the Sea Ghost.
These quests are important otherwise the characters will be floundering around on the ship itself, unsure how to deal with it and unsure why they're there in the first place. This can lead to a lot of frustration if the quests aren't clarified.
Beyond clarifying their goals, we can also help guide the conversations the players are having about their approach towards the Sea Ghost by steering it towards realistic options. Will it be possible that they sneak on disguised as the smugglers from the haunted mansion? Do we think they can realistically row up and challenge the whole crew at once? We can offer some guidance in the form of levels of difficulty.
Offer clear goals and leave the approaches open.
If things go straight into combat on the Sea Ghost, spread things out so the characters aren't facing all of the crew at once. Some crew might be sleeping. Some might be afraid to run up on deck. Some might need a couple of rounds to get their pants on and find their sabers. Let them attack in waves and don't be afraid to tweak their hit points for the flow of the story. When it works well, a fight on the Sea Ghost can feel like the one of the best action adventure movies we've seen.
With the Sea Ghost taken down, our characters return to Saltmarsh with the information they need to head into Ghosts of Saltmarsh Chapter 3: The Danger in Dunwater.
Stretching our DM Muscles
The Sinister Secret of Saltmarsh is a wonderful adventure that helps us stretch a lot of DM muscles that we often talk about on this website and in Return of the Lazy Dungeon Master. This adventure is full of dynamic situations, intrigue, and potential downtime activities. It's hard to run some of these situations. We really have to be comfortable thinking on our feet. When they run well, however, such adventures can feel like magic.
Related Articles
- Ghosts of Saltmarsh Session Zero
- Running Ghosts of Saltmarsh Chapter 4: Salvage Operation
- Running Ghosts of Saltmarsh Chapter 7: Tammeraut's Fate
Share this article using this link: https://slyflourish.com/sinister_secret_of_saltmarsh.html
Subscribe to Sly Flourish
Subscribe to the weekly Sly Flourish newsletter and receive a free adventure generator PDF!
More from Sly Flourish
Sly Flourish's Books
- City of Arches
- Return of the Lazy Dungeon Master
- Lazy DM's Companion
- Lazy DM's Workbook
- Forge of Foes
- Fantastic Lairs
- Ruins of the Grendleroot
- Fantastic Adventures
- Fantastic Locations
Have a question or want to contact me? Check out Sly Flourish's Frequently Asked Questions.
This work is released under a Creative Commons Attribution-NonCommercial 4.0 International license. It allows reusers to distribute, remix, adapt, and build upon the material in any medium or format, for noncommercial purposes only by including the following statement in the new work:
This work includes material taken from SlyFlourish.com by Michael E. Shea available under a Creative Commons Attribution-NonCommercial 4.0 International license.
This site may use affiliate links to Amazon and DriveThruRPG. Thanks for your support!
